A well-crafted garden path can transform your outdoor space—guiding visitors through your garden, linking different areas, and adding visual charm and structure. Whether you’re aiming for a rustic woodland feel or a sleek, modern look, creating a garden path is a rewarding DIY project that’s easier than it looks. Here’s a comprehensive step-by-step guide to help you design and build a garden path that enhances your landscape.
Step 1: Plan Your Path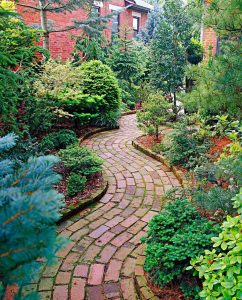
The first and most crucial step is planning. A well-thought-out path adds flow and function to your garden.
Consider the following:
-
Purpose: Is it a main walkway or a decorative trail?
-
Traffic: Will it handle frequent foot traffic, or be used occasionally?
-
Style: Do you prefer a straight, formal path or a meandering, natural one?
-
Materials: Gravel, stepping stones, brick, pavers, wood, or a combination?
Use a garden hose or string to mark out the shape of your path. Walk it several times to make sure it feels right. Sketch it out on paper to visualize placement and scale in relation to your garden beds, patio, and other features.
Step 2: Choose the Right Materials
Your choice of materials will set the tone for your garden. Here’s a quick overview of popular options:
-
Gravel: Affordable, easy to install, great for informal paths.
-
Pavers or Bricks: Durable, clean, and perfect for structured designs.
-
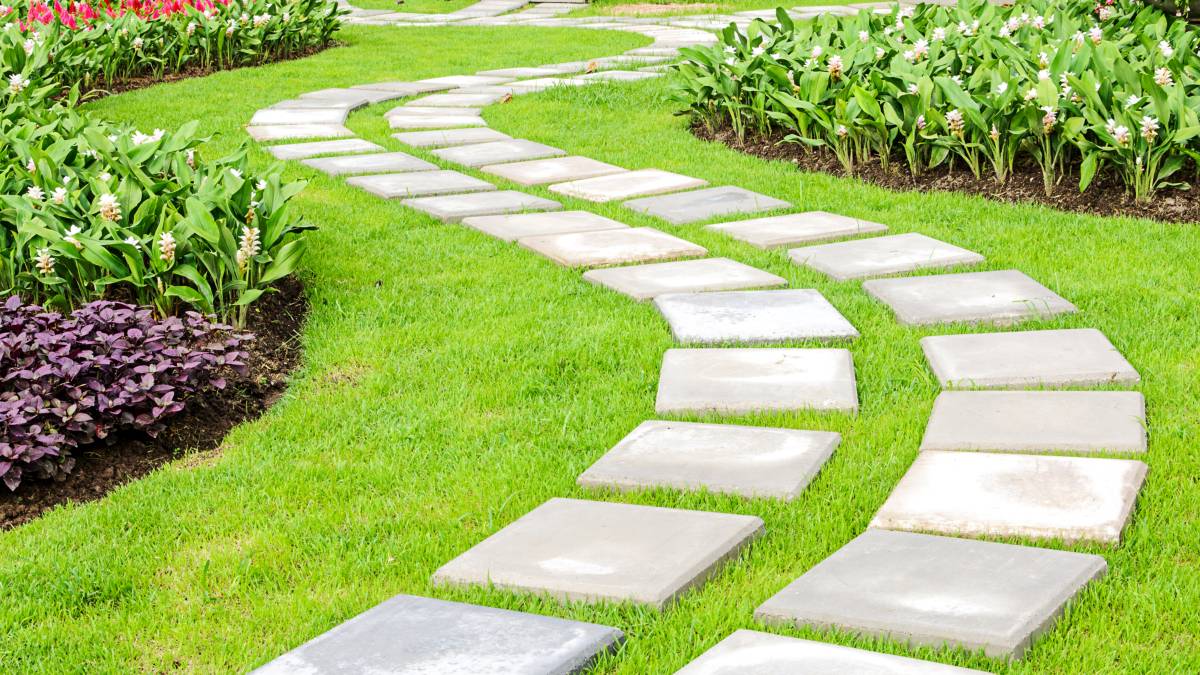
Stepping Stones: Natural and charming, ideal for woodland or cottage gardens.
-
Wood Chips or Mulch: Inexpensive and earthy but needs regular replenishing.
-
Flagstone: Beautiful and natural-looking, but heavier and more labor-intensive.
Make sure your chosen materials complement your garden’s style and withstand your local weather.
Step 3: Measure and Mark the Area
Once you’ve chosen your materials and finalized the layout:
-
Mark the edges of the path using landscaping spray paint, string lines, or wooden stakes.
-
Measure the width of your path. A comfortable walking path should be at least 2–3 feet wide.
-
Account for curves and turns by measuring their radius and ensuring they allow easy navigation.
Step 4: Excavate the Path
Now it’s time to dig! This part takes effort, but it’s critical to ensure your path stays level and lasts.
Instructions:
-
Dig down 3–6 inches depending on the type of path and materials.
-
For gravel: 3–4 inches is sufficient.
-
For pavers: 6–8 inches to accommodate a gravel base and sand layer.
-
-
Remove all sod, rocks, and roots within the path area.
-
Create a slight slope (1/4 inch per foot) for drainage if necessary.
Pro Tip: Use a flat shovel and wheelbarrow to make digging easier and more efficient.
Step 5: Add a Base Layer
A strong base prevents your path from shifting or becoming uneven over time.
For most paths:
-
Lay down landscape fabric to prevent weed growth.
-
Add a 2–4 inch layer of crushed stone or gravel.
-
Compact it with a plate compactor or hand tamper to create a solid foundation.
If you’re using pavers or bricks, you’ll want to add a layer of coarse sand (1 inch thick) over the gravel base for leveling.
Step 6: Lay the Path Material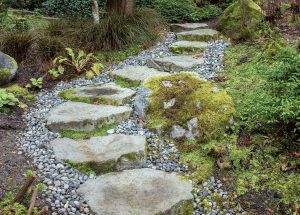
This is where your path starts to take shape!
For Stepping Stones:
-
Place each stone firmly on the sand or gravel bed.
-
Use a level to ensure even placement.
-
Space them comfortably for a natural stride (usually 18–24 inches apart).
For Gravel Paths:
-
Pour the gravel over the base layer.
-
Rake it smooth and even, keeping the depth consistent.
-
Consider installing metal or plastic edging to keep gravel from spreading.
For Pavers or Bricks:
-
Begin at one end and lay the pavers tightly together in your desired pattern.
-
Tap each one into place with a rubber mallet.
-
Check for level regularly.
Step 7: Fill in the Gaps
If you’re using stepping stones or pavers:
-
Sweep sand, gravel, or polymeric sand into the joints between the stones.
-
Mist with water to set the sand, especially if using polymeric sand, which hardens and helps lock the stones in place.
This step prevents shifting and keeps weeds at bay.
Step 8: Install Edging (Optional but Recommended)
Edging defines your path and keeps everything in place.
Edging Options:
-
Metal edging (clean and modern)
-
Timber edging (rustic and sturdy)
-
Brick or stone edging (decorative and durable)
-
Plastic edging (flexible and easy to install)
Install the edging flush with or slightly above the path level to contain your materials and prevent encroachment from surrounding plants or grass.
Step 9: Add Finishing Touches
Now that the heavy lifting is done, you can enhance your path with a few thoughtful details:
-
Lighting: Solar lights or lanterns make your path usable at night and add ambiance.
-
Plants: Border the path with low-growing plants or groundcovers for a soft, natural edge.
-
Decorative gravel or mulch: Surround the path with complementary materials for contrast and cohesion.
-
Water features or statues: Strategically placed accents can make your garden path even more enchanting.
Step 10: Maintain Your Path
Even a well-built path needs occasional upkeep:
-
Rake gravel or mulch back into place as needed.
-
Remove weeds or moss between stones or bricks.
-
Refill joints with sand if it begins to wash away.
-
Re-level or replace materials that shift over time.
With simple maintenance, your path will look beautiful for years to come.
Conclusion
Building a garden path isn’t just about connecting point A to point B—it’s about creating an experience. Whether winding through flower beds or leading to a cozy bench, a thoughtfully designed path invites exploration and adds timeless charm to your outdoor space. By following these steps and choosing materials that match your garden’s aesthetic and function, you’ll have a stunning path that feels both purposeful and picturesque.
So grab your shovel and get started—your perfect garden path awaits!